Monday, May 30, 2011

Cupcake Obsession!!

My kids say that I am obsessed with cupcakes!!  Well, I say why the heck not!  I thought I would post some pictures with ideas so you can either try these or take some of my ideas and expand on them!  Would love to see some of them if you come up with some new varieties!

I have to say that after trying several home made recipes for cupcakes, I have decided unless it is a crazy flavor that I can't buy in a box, I am sticking to the box! They are so much lighter and fluffier and most people who try both prefer the box mixes!

I have found that if I use a simple buttercream recipe, I can add just about anything to it and it tastes great!
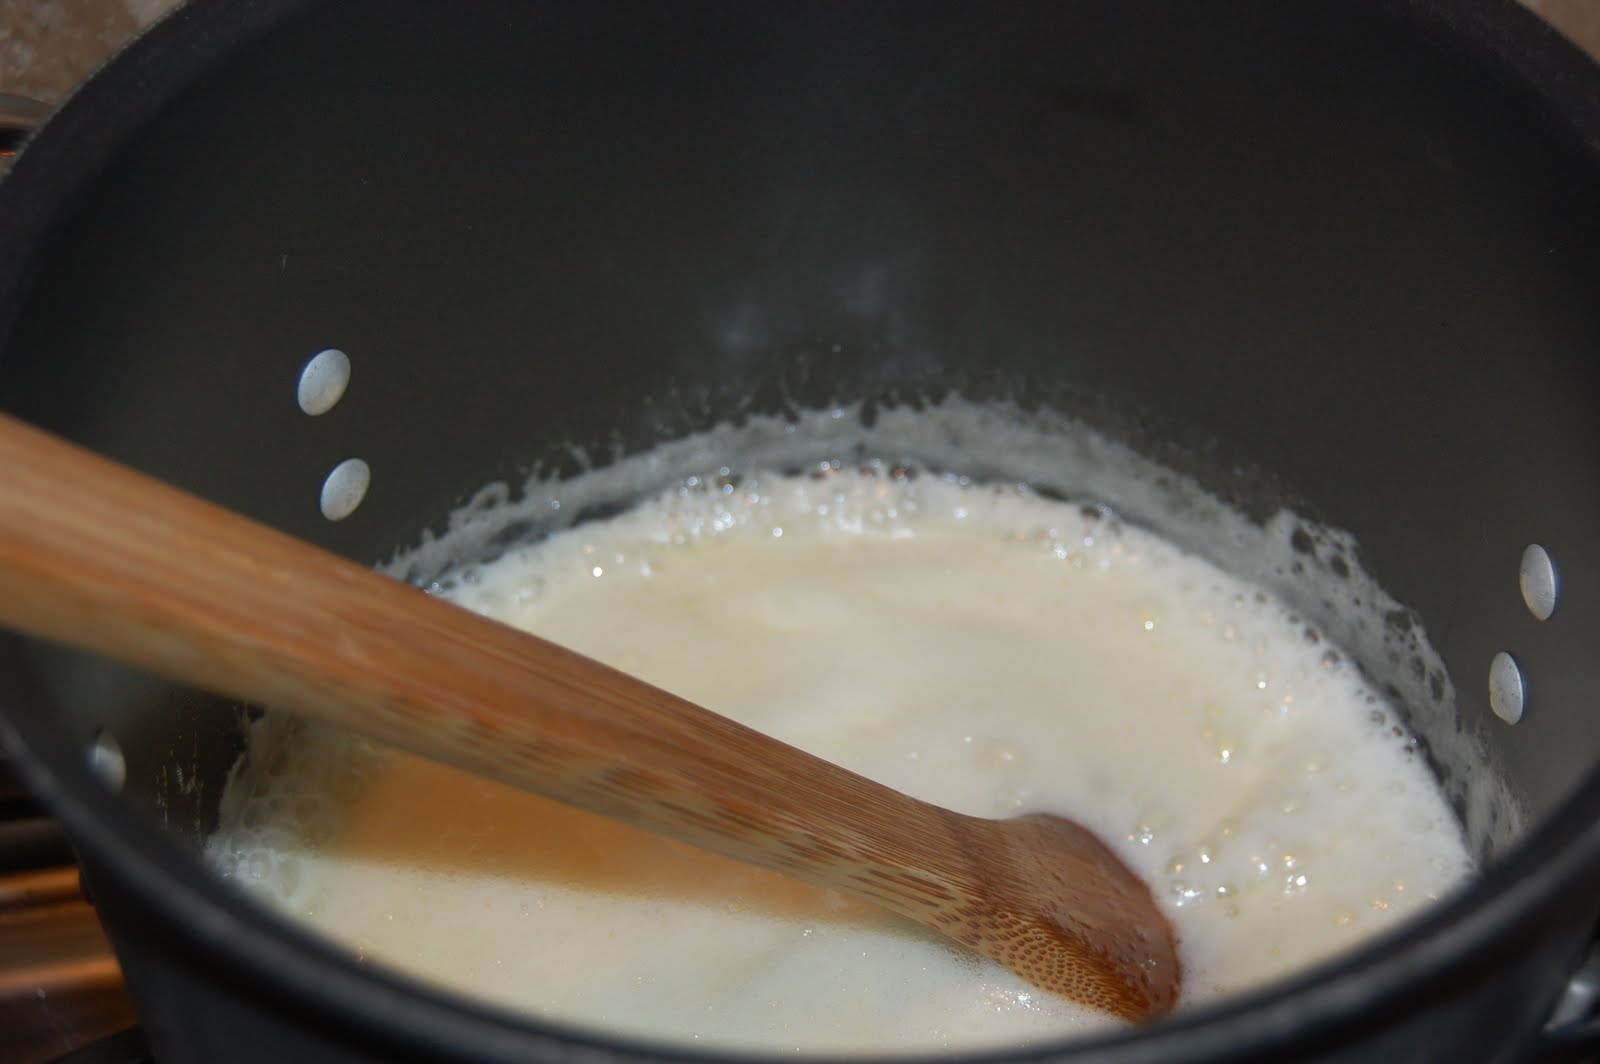
Buttercream Icing:
1 stick butter
1 tsp. vanilla
3 C Powdered sugar
milk

Cream first 3 items together in mixer and add milk as needed for the proper consistency.

Chocolate Buttercream- add 1/2 cup unsweetened cocoa to above recipe.

The easiest way that I have found to ice cupcakes is to get some disposable cake decorating bags.  They are just a heavy triangle shaped bag.  I roll the top over and fill up the bag.  Cut about 1/2 inch off the tip and pipe the icing on!  It is that easy and no messy tips or bags to clean.  Just throw away the bag! If you want it to look a little more formal, you can use a decorative tip in the bag.

Now that you have the two basics- you get to get creative!

This assortment has my chocolate peanut butter cupcakes, rocky road, and strawberry vanilla bean.


For the Chocolate Peanut Butter cupcakes, I add about 3 TBSP cream peanut butter to the buttercream icing.  Top with chopped Reeses Peanut Butter cups and enjoy!  You can also drizzle melted peanut butter or melted peanut butter chips for a more elegant look.

The Rocky Road cupcakes just have the chocolate buttercream with marshmallows and chopped nuts (I prefer pecans or almonds).

The strawberry vanilla bean is a vanilla cupcake that I scraped some vanilla beans into.  Do the same with the vanilla buttercream and top with fresh strawberries.


Sometimes I am looking for stuff to use up in my pantry.. as is the case with the above cupcake.  We took some Girl Scout Samoas along with some toasted coconut and topped the chocolate/chocolate cupcakes!  YUM!


 Last but certainly not least are my personal favs!!  Triple Salted Caramel Cupcakes!  Even the name sounds divine!
These started out with a vanilla cupcake or I have seen recipes for caramel cupcakes online..  Topped with a caramel sauce that I made- I will find and post the recipe if anybody is interested.. it was a caramel candy recipe that I just didn't thicken all of the way.  I put that into a squirt bottle and pushed the tip into the cupcake and filled.  I then topped with the above buttercream icing that I added some of the caramel to.  I also added a tsp. of sea salt.  I then drizzled the tops with more caramel and a light shake of sea salt.  My daughter got creative and talked me into making the sugar scuptures on top!  They didn't taste as good as they look, so probably a bit more trouble than they are worth!  This cupcake is to die for!


Monday, May 23, 2011

Chicken and Garlic Pasta

This dinner was so easy I have to write about it!

A few days ago, I bought a large package of fresh chicken breasts. Today, I realized that if I don't cook them soon, I'll have to throw them away. So, this morning, I just put them in a crockpot, then filled it to the top with water. I added a little salt and pepper and cooked on low all day. While the noodles were cooking (below), I took out some of the chicken and chopped it.

This evening, I cooked a pot of pasta (doesn't really matter what kind). After cooking, I drained it, then added some olive oil, maybe about 1/4 cup. I then added about 3 large cloves of fresh minced garlic, some sea salt, cracked pepper, and basil. Finally, I mixed in the chicken. Our family loves parmesan cheese, so we topped it off with a generous sprinkling, then served.
We all really liked it, and the kids had seconds. However, because it was an experimental recipe, we decided that we would make a few changes next time. We tried a few things, and realized it needs a little chicken broth (which we added from the crockpot of chicken that had been cooking all day). We also tried adding just a small amount of sour cream and thought that was very tasty, too.

The bottom line is this is a versatile starting point for many variations, depending on what you have in your kitchen at dinner time! Enjoy!

Friday's Couponing Adventure

I know - this is kind of random, but I'm so proud of my couponing skills! My friend, Sherry, taught me how to make the most of coupons by combining them with sales. I'm still learning, but today was one of my better days, so I had to take a picture and show you what I got...

Total: 7 boxes cereal, 10 boxes pasta, 2 eight bar packs of soap, 3 two bar packs of soap, 11 bottles of propel water, 7 bottles of Nivea men's body wash, a package of sliced cheese (for which I forgot to use my coupon!!), a $7.00 pacakge of frozen chicken breasts that my son has been asking for and for which I had no coupon, and some grapes.


Drum roll please.................grand total $13.00!!!


Now, I suppose my next post should be a pasta recipe...

Wednesday, May 18, 2011

Snickerdoodles

These snickerdoodles are absolutely the best ones you will ever eat!  I would recommend doubling the recipe~ they are going to go fast...


1/2 C butter, softened
1/2 C shortening
1 1/2 C white sugar
2 eggs
2 tsp. vanilla
2 3/4 C flour
2 tsp. cream of tartar
1 tsp. baking soda
1/4 tsp. salt


cinnamon 
sugar


Preheat oven to 400 degrees.  Cream butter, shortening, sugar, eggs and vanilla.  Blend in the dry ingredients.


I just have to throw in here that I don't know how I have lived my entire life thus far without this spatula beater for my Kitchenaid!!  I found it at a kitchen store in an outlet mall but have seen them other places- it is an absolute must-have if you own a Kitchenaid.. now back to the recipe! :)


Shape dough into rounded balls (I use a cookie scoop so it is really quick..)  Roll in cinnamon sugar mixture.  Place about 2 inches apart on cookie sheet.


Bake for 8 to 10 minutes or until set.  Remove from cookie sheets immediately or they will start to stick!


Enjoy~ 

Tuesday, May 17, 2011

Fresh Mango Salsa!

This is the perfect Summer salsa!  It is fresh and easy to make~ I like it with grilled chicken on a flour tortilla, but the possibilities are endless!  Enjoy...


2 ripe chopped mangoes
2-3 chopped tomatoes
1/2 C chopped cilantro
juice of one lime
1-2 diced jalapenos (try with one first!)


Mix all ingredients together and refrigerate for 3-4 hours before serving!  Makes about 3 cups.

Monday, May 16, 2011

Brownie Trifle

Last weekend, I offered to make brownies for a party. Once the brownies were baked, I decided to get a little more creative! One of my favorite things to do with brownies is make them into a trifle. The best thing about trifle is that there are NO RULES! Anything yummy and sweet will probably work! Below is my "basic" recipe, but have fun making it your own.

1 21 oz. brownie mix, prepared
4 oz. cream cheese
1 cup marshmallow cream
8oz container frozen whipped topping
1 1/2 cups milk
3 oz pkg instant pudding mix (any flavor)
1/2 jar caramel topping

Layer #1 - Start by baking the pan of brownies - any flavor will work, but of course, my favorites are the Sisters' Gourmet Chocolate Overload Brownies. Then, crumble them and put about a third in the bottom of a trifle dish or a 9x13 pan or whatever you want to useFor layer #2 - Beat cream cheese, then add marshmallow cream until blended. Stir in 1/2 of the whipped topping. Spread over the crumbled brownies.

Layer #3 - Pour caramel topping evenly over the creamy layer.

Layer #4 - Combine pudding mix and milk until thickened. Stir remaining whipped topping into pudding. Spread about 1/2 of this over the caramel.

Layer #5 - Crumble about 1/3 of the brownie pieces over the pudding layer.

Layer #6 - Spread the rest of the pudding over the brownies.

Layer #7 - Sprinkle the rest of the brownie pieces on top.

Layer #8 - If I have extra whipped topping, I sometimes put a little more on the top. I've also finished it off with chocolate shavings.

It can be served right away, or refrigerated for a few hours. I love it the most on the second day, but it doesn't look as pretty. This will serve about 12 -15! Enjoy!

Saturday, May 14, 2011

Southern Buttermilk Syrup

Since we are on the topic of breakfast, here is a recipe for "Southern Buttermilk Syrup".. Once you try, you won't want maple syrup anymore!

Southern Buttermilk Syrup

3/4 cup Buttermilk
1 1/2 cups sugar
1/2 cup butter (not margarine)
2 T corn syrup
1 tsp baking soda
1 tsp vanilla

Combine buttermilk, sugar, butter, corn syrup and baking soda in a large pan. (it will bubble up, so a small saucepan will NOT work!)


Bring mixture to a boil and reduce heat to low.  Cook, stirring frequently, for 8 or 9 minutes or until it is a golden brown.  Remove from heat and stir in vanilla.  Enjoy!

Wednesday, May 11, 2011

Caramelized Bacon

Several years ago, at my niece’s wedding reception, I was introduced to caramelized bacon. The reception was held at a beautiful country club, and as guests were mingling, the servers were offering plates of these delicious bites of bacon. Since then, I have been experimenting with recipes and cooking methods so we can enjoy this treat at home. Following is my recipe – which is pretty close to perfection (if you ask my kids):

You will need:
1 lb of bacon
1 cup of brown sugar

That’s all. As for kitchen “tools”, I use my broiler pan, a cooling rack, and some sort of flat plastic container with short sides.

I won’t lie to you - this can be a bit messy. So, I do a couple of things at the beginning to make the clean-up go quickly.

1. cover broiler drip pan with foil.
2. put foil or wax paper under a cooling rack (for drips)


OK let’s get started…. Preheat your oven to bake at 400. Pour the brown sugar into a flat container with sides. Cut the entire pound of bacon in half – just right down the middle.

Take each slice of bacon and press it into the brown sugar, covering each side. Then, lay the sugared bacon on the top rack of broiler pan – touching each other is fine.


Bake for about 16 minutes, flipping the slices over about halfway so they get about 8 minutes on each side. I prefer them very crispy, so I may watch closely and bake an extra few minutes. In this picture, I've been rotating some new ones onto the pan as others have been cooked and removed from the pan. The darker ones are ready to come off, but the others will need to cook longer.


Remove from broiler pan, and place each slice on baking rack while still hot. Let cool for about 10 to 15 minutes, then enjoy! You can also store in the refrigerator for up to a week, but they are best served at room temperature.